


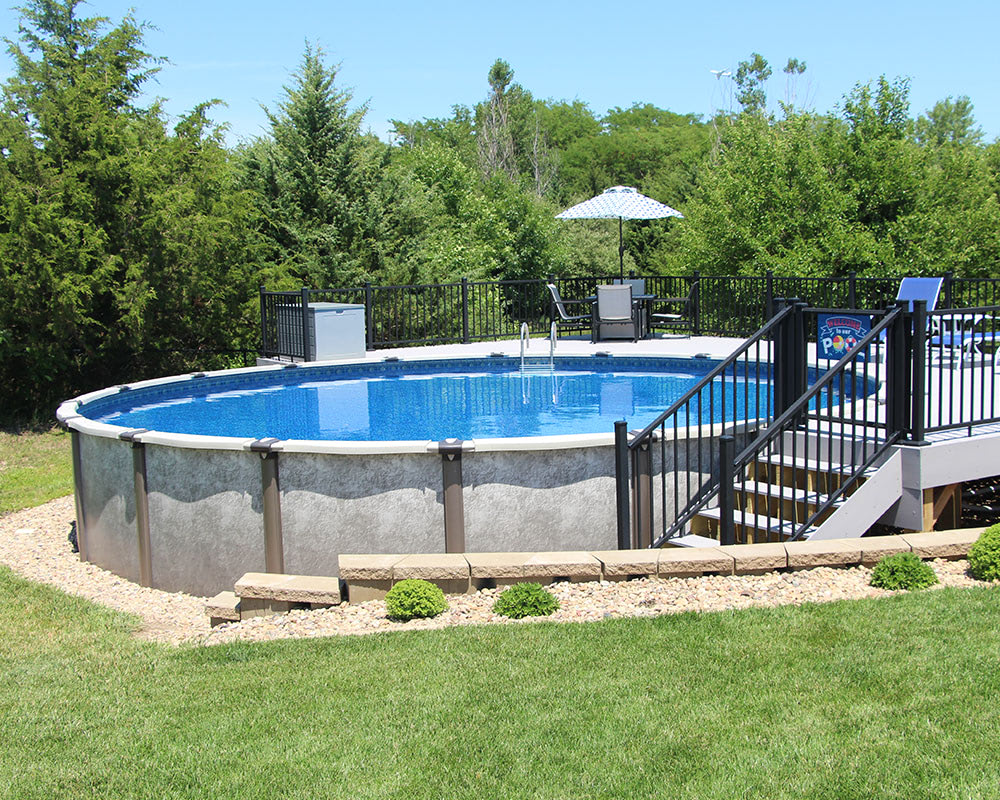
Walking out to your pool and noticing that the water level has dropped can be a frustrating experience, especially if you are constantly unwinding the hose and giving your pool daily H20 transfusions.
Having a leak is a process that will raise both your anger level and your water bill, and the only way to win the battle is to put on your detective hat and find the spot that is causing your pool to lose water.
Is there really a leak?
Just because your pool is losing water doesn’t necessarily mean that there is a leak. Natural water loss will occur because of evaporation, especially on sunny days. Heavy use will also cause water to leave the pool due to splashing and swimmers who are exiting the pool.
To find out if your pool truly has a leak, there is a simple test you can conduct that requires either a small bucket or a drinking cup that has been weighed down with marbles or similar object.
To start the experiment, turn off the pump and fill the container with water. Secure the container to the steps and be sure that the level of water in the cup is the same as the level of water in the pool. Let the cup sit on the steps for 24 hours and then check to see if the water level of the pool has dropped below that of the cup. If the levels are different, you’re dealing with a leak.
Check the circulation system.
When a pool loses water, that doesn’t automatically indicate that there is a hole in the liner; the problem could lie within the circulation system. The most tell-tale sign of a leak in your circulation system is the presence of excess water on and around the filter; however, puddles near your filtration system does not guarantee that this is the source of water loss. The water could have just flowed to that spot from a hole in the liner.
But as a backyard detective, you need to take advantage of every clue that you have, so turn off the pump and begin to inspect the hoses, fittings and all other filtration equipment.
First make sure that the intake and output hoses are securely fastened to both the pool and also to the circulation system. Be sure to check the hoses for any signs that the plastic has been punctured.
After checking the hoses and their connections, move to the union between the motor and the filter. A small amount of water seepage from this area is common and should be no cause for concern. If water is leaking from any of the threaded connections, check for cracks in the equipment and make sure that Teflon tape (plumber’s tape) was wrapped around the threads before they were connected.
Common areas for leaks
If inspecting the circulation system and tightening the fittings didn’t solve your water loss problem, it’s time to step into the pool with some goggles and do some hands-on searching. However, before you spend hours circling your pool trying to pinpoint what could be something as small as a pin hole, you should first check the areas that are most prone to leaking.
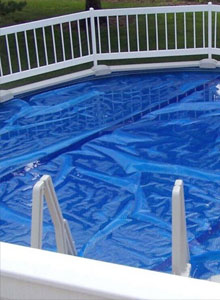
The first stop on your journey should be the area around your ladder. If you are not using a ladder mat or do not have your ladder properly anchored (or both) there is a chance that use of the ladder has caused it to rub against the liner, weakening a specific spot until the vinyl finally tore.
Remove the ladder from the pool and search its vacant spot for a hole. The easiest way to inspect the liner is to put on a pair of goggles and rub your hand along the liner, feeling for a tear. Also keep an eye out for air bubbles clinging to the liner because they will often indicate the spot of water loss.
If the area around the ladder does not show any signs of a leak, move to the seams of the liner and then to the perimeter of the skimmer’s faceplate and the return jet.
With any luck, you will have found the guilty spot by now, but if you have still not found anything, it’s time to increase the search efforts. You will need to look over the entire liner using the aforementioned method until you locate the tear. Start at the ladder and move clockwise, checking the walls from top to bottom. Don’t forget to include the floor of the pool in your search, and be aware that there may be more than one hole.
Patch it
You’ve checked every inch of your liner and finally have the leak in your sights. It’s time to patch it and save your pool from losing any more water.
There are two types of patch kits, dry and underwater. The underwater patch kits are the best route to take because draining the water to get to the leak will compromise your entire pool. If you do this, the liner may dry out and shrink due to its exposure, and since water is the only thing holding up your pool, the walls will be susceptible to collapsing without its support.
To patch the leak, just follow the instructions on the repair kit and breathe a sigh of relief; you’ve solved the mystery of the vanishing water!
Prevent leaks from happening in the first place
The best way to fix a leak is to make sure you never get one. As mentioned earlier, it is important to have a mat between your entry system and the liner to act as a buffer and absorb any abrasions. You must also make sure that the ladder is securely anchored to prevent unwanted movement that may lead to rips and tears.
Maintain a clean pool and promptly remove any debris, such as rocks and twigs, which can also lead to algae growth. If you do happen to get algae and are using a brush in the treatment process, make sure that it is a soft-bristled, vinyl brush. Other brushes are too harsh and will tear the liner.
End of season leaks
If it is time to close your pool and you believe that there is a leak in the liner, it is necessary to resolve the problem before closing your pool. If left untreated, your water will drain over the winter, and the accumulation of snow on the winter cover combined with the weakened walls will almost certainly lead to disaster.
You must find and repair all leaks. If you are unable to find the leak, it will be necessary to replace the liner. If you would prefer not to replace your entire liner, there are professional diagnostic companies that will use equipment to find the location of your leak; however, these services tend to be expensive. Although either of these solutions may seem to be expensive, it is a small price to pay to make sure that your investment will last through the winter.