


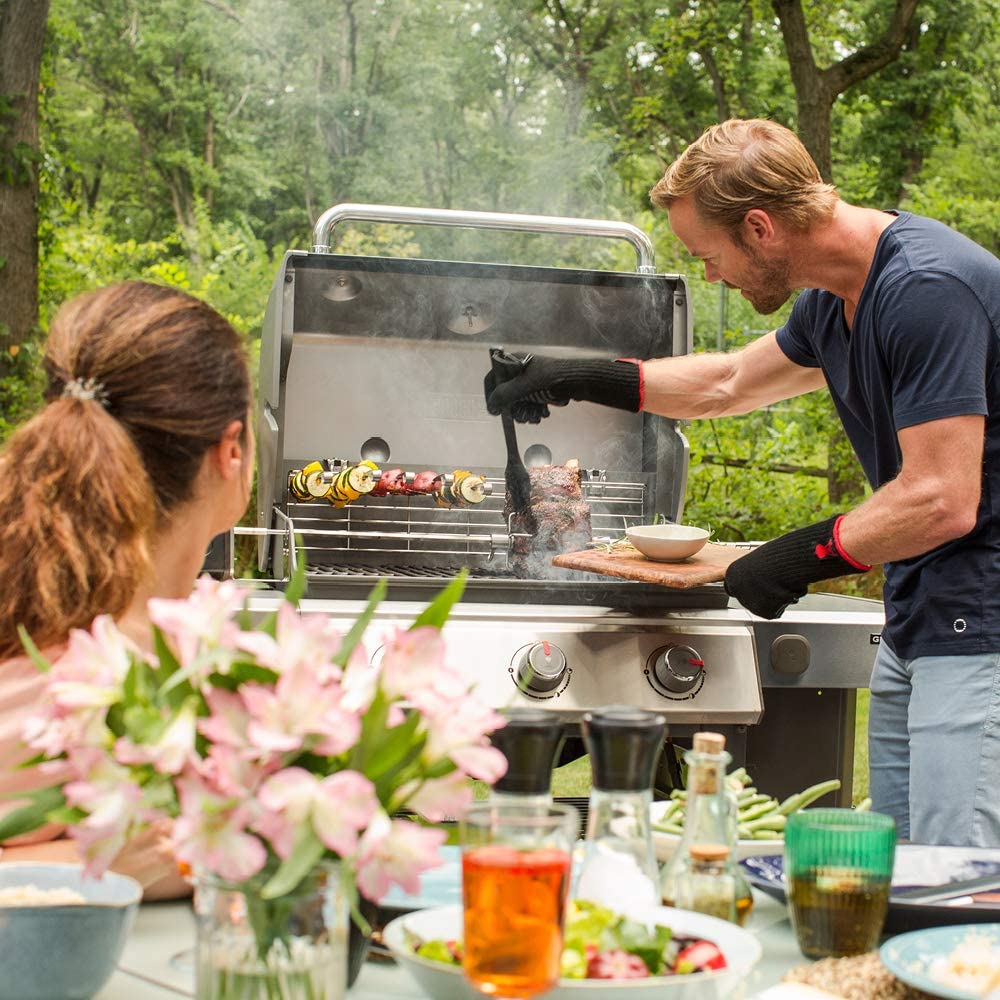
For food lovers, the most exciting part about summer is the opportunity to move from the microwave to the grill and serve up some flame-licked burgers. Successfully grilling your meal isn’t as easy as putting a TV dinner in the microwave, but the extra effort is well worth it. By following these cookout tips, you’ll have charbroiled chicken and a neighborhood full of jealous noses.
Let the rack heat up
This step is often skipped by the grilliterate: Preheat your grill. When cooking in an oven, you don’t just throw food on a cold range, and the same rules should be followed when grilling your favorite meal. If food is rushed to the flame before the rack has a chance to heat up, the food will not be properly seared. This means that the outside of the food won’t caramelize. It will stick to the rack. You won’t get the iconic grill lines. Your food just won’t taste as good.
To avoid the disappointment of using a grill and not actually grilling your food, be sure to let the grill heat up for 10-15 minutes before adding the food. This goes for both charcoal and gas grills.
Keep it clean
Grilling on a rack that is still caked with chunks of food from last month’s fish fry will spoil your summer rack of ribs. The residue will make your meat unevenly cooked and taste burnt, so make sure to clean the surface of your grill with a wire brush once it has been preheated. A clean grill is a happy grill.
While on the subject of cleanliness, make sure that your fuel is clean too. Gas burns cleanly, so anyone with a gas grill doesn’t need to worry about clean fuel. If you roll with charcoal and use lighter fluid, however, it’s time to clean up your act. Cooking with either lighter fluid or lump charcoal treated with chemicals will lower the quality of your food. This food is going into your body, so don’t settle for regular 87: Go for premium 93.
To avoid biting into a burger and tasting lighter fluid, invest in a chimney starter and use additive-free hardwood charcoal. The chimney starter is a hollow metal cylinder that will allow you to pile up charcoal and easily light it with a crumpled-up piece of paper. This eliminates the need for lighter fluid, pyramid stacking, and all other hassles that accompany achieving a perfect setup.
Now that it’s clean, get it dirty
The rack is sparkling clean, and the raw food is just begging to jump onto that flame. But before plopping it down, there’s one final step that will take your cookout from ordinary to legendary.
Oil the rack. It may seem simple, but adding a layer of vegetable oil to the rack will allow you to effortlessly remove the food. No more gripping burgers with tongs and trying to pry them away as they crumble through the rack.
To oil the rack, pour the oil over a paper towel, grip it with tongs, and drag it across the grilling surface, distributing the oil evenly over the rack.
Get in the zone
The best way to grill your food is to establish different heat zones. You will want a high-level area of heat to sear the food when it is first placed on the grill and a lower-level area of heat for cooking the food after it has been seared.
To do this on gas grills, just turn the knobs to achieve your searing zone.
The heat on charcoal grills can be adjusted by concentrating the charcoal near the center of the grill. This will create a high-heat zone in the middle of the grate and lower heat zones around the outside of the grate.
A rule of thumb for determining heat without a thermometer is to hold your hand roughly five inches from the surface of the grate. If you need to move your hand within two seconds, it is a high level of heat; five seconds is medium and ten seconds is low.
When is it done?
It may be tempting to cut the meat to see if it has been thoroughly cooked, but this is a mistake that will cost you tenderness. By cutting the food while it is still cooking, you will lose precious juice and your meat will be dry and unappealing.
For those of you who like to play it safe, the only surefire way to know that your food is cooked is to use a meat thermometer. To test the temperature, insert the thermometer into the thickest part of the meat and wait for the needle to stop moving upward. Beef, veal, lamb, pork, and fish will be well-done when the temperature reaches 145°F; ground beef is 160°F; and poultry is 165°F.
If you don’t have a meat thermometer or just want to take it old school, there are some less-accurate, yet useful, methods you can employ.
The first is to touch the meat. As it cooks, its tenderness will change from soft to firm. Feel the raw meat and take note of its texture to use as a benchmark when determining how well-done the food is. In addition to the touch test, you will also want to watch to see if the meat has shrunk at all. The outside may appear cooked, but if the cut of meat hasn’t gotten any smaller, the inside is probably still raw. Use the grates as measurements to more easily notice if the meat has shrunk.
Waiting is the hardest part
The food is done, and it smells delicious. But before taking them from the grill to your bun, put the patties on a plate covered with foil and let them sit for about 10 minutes.
It will be hard to just let your food sit there, but it will pay off when you take that first bite and you realize how juicy it has become. By letting the meat sit under a blanket of foil, the juices will settle throughout the meat and make whatever you were cooking more savory. The foil will insulate the meat, allowing it to keep cooking and ensuring that it doesn’t get cold.
Recipes to put the stressed at ease
Having trouble deciding what to put on your menu? The folks over at Weber Grills are here to save you. To grab some exciting recipes, visit Weber’s website by clicking here.